
How To Turn Your Tripod Into A Big, Expensive Light
A step-by-step tutorial on how to use your tripod (and a little trickery) to re-light your scene.
At the end of every video shoot it's so much easier to realize what should have been done differently to have made the video better. It's a painful ritual for every filmmaker and it reminds us that there's still room for growth and improvement.
However, every once in a while one of the lessons learned from a past mistake turns into a perfectly timed bit of wisdom that saves the day during a shoot.
This happened to me the other day when for the 1,283,974th time I showed up to a video shoot and I didn't have the gear that I should have brought with me. I needed way more lighting equipment, so I had to get creative and turn my tripod into the big, expensive light that I needed.
Let me show you how I did it:
(I recommend watching the video because it includes more behind the scenes and some example videos, but if you prefer a non-video version, keep reading…..)
Step #1 - The DILEMMA

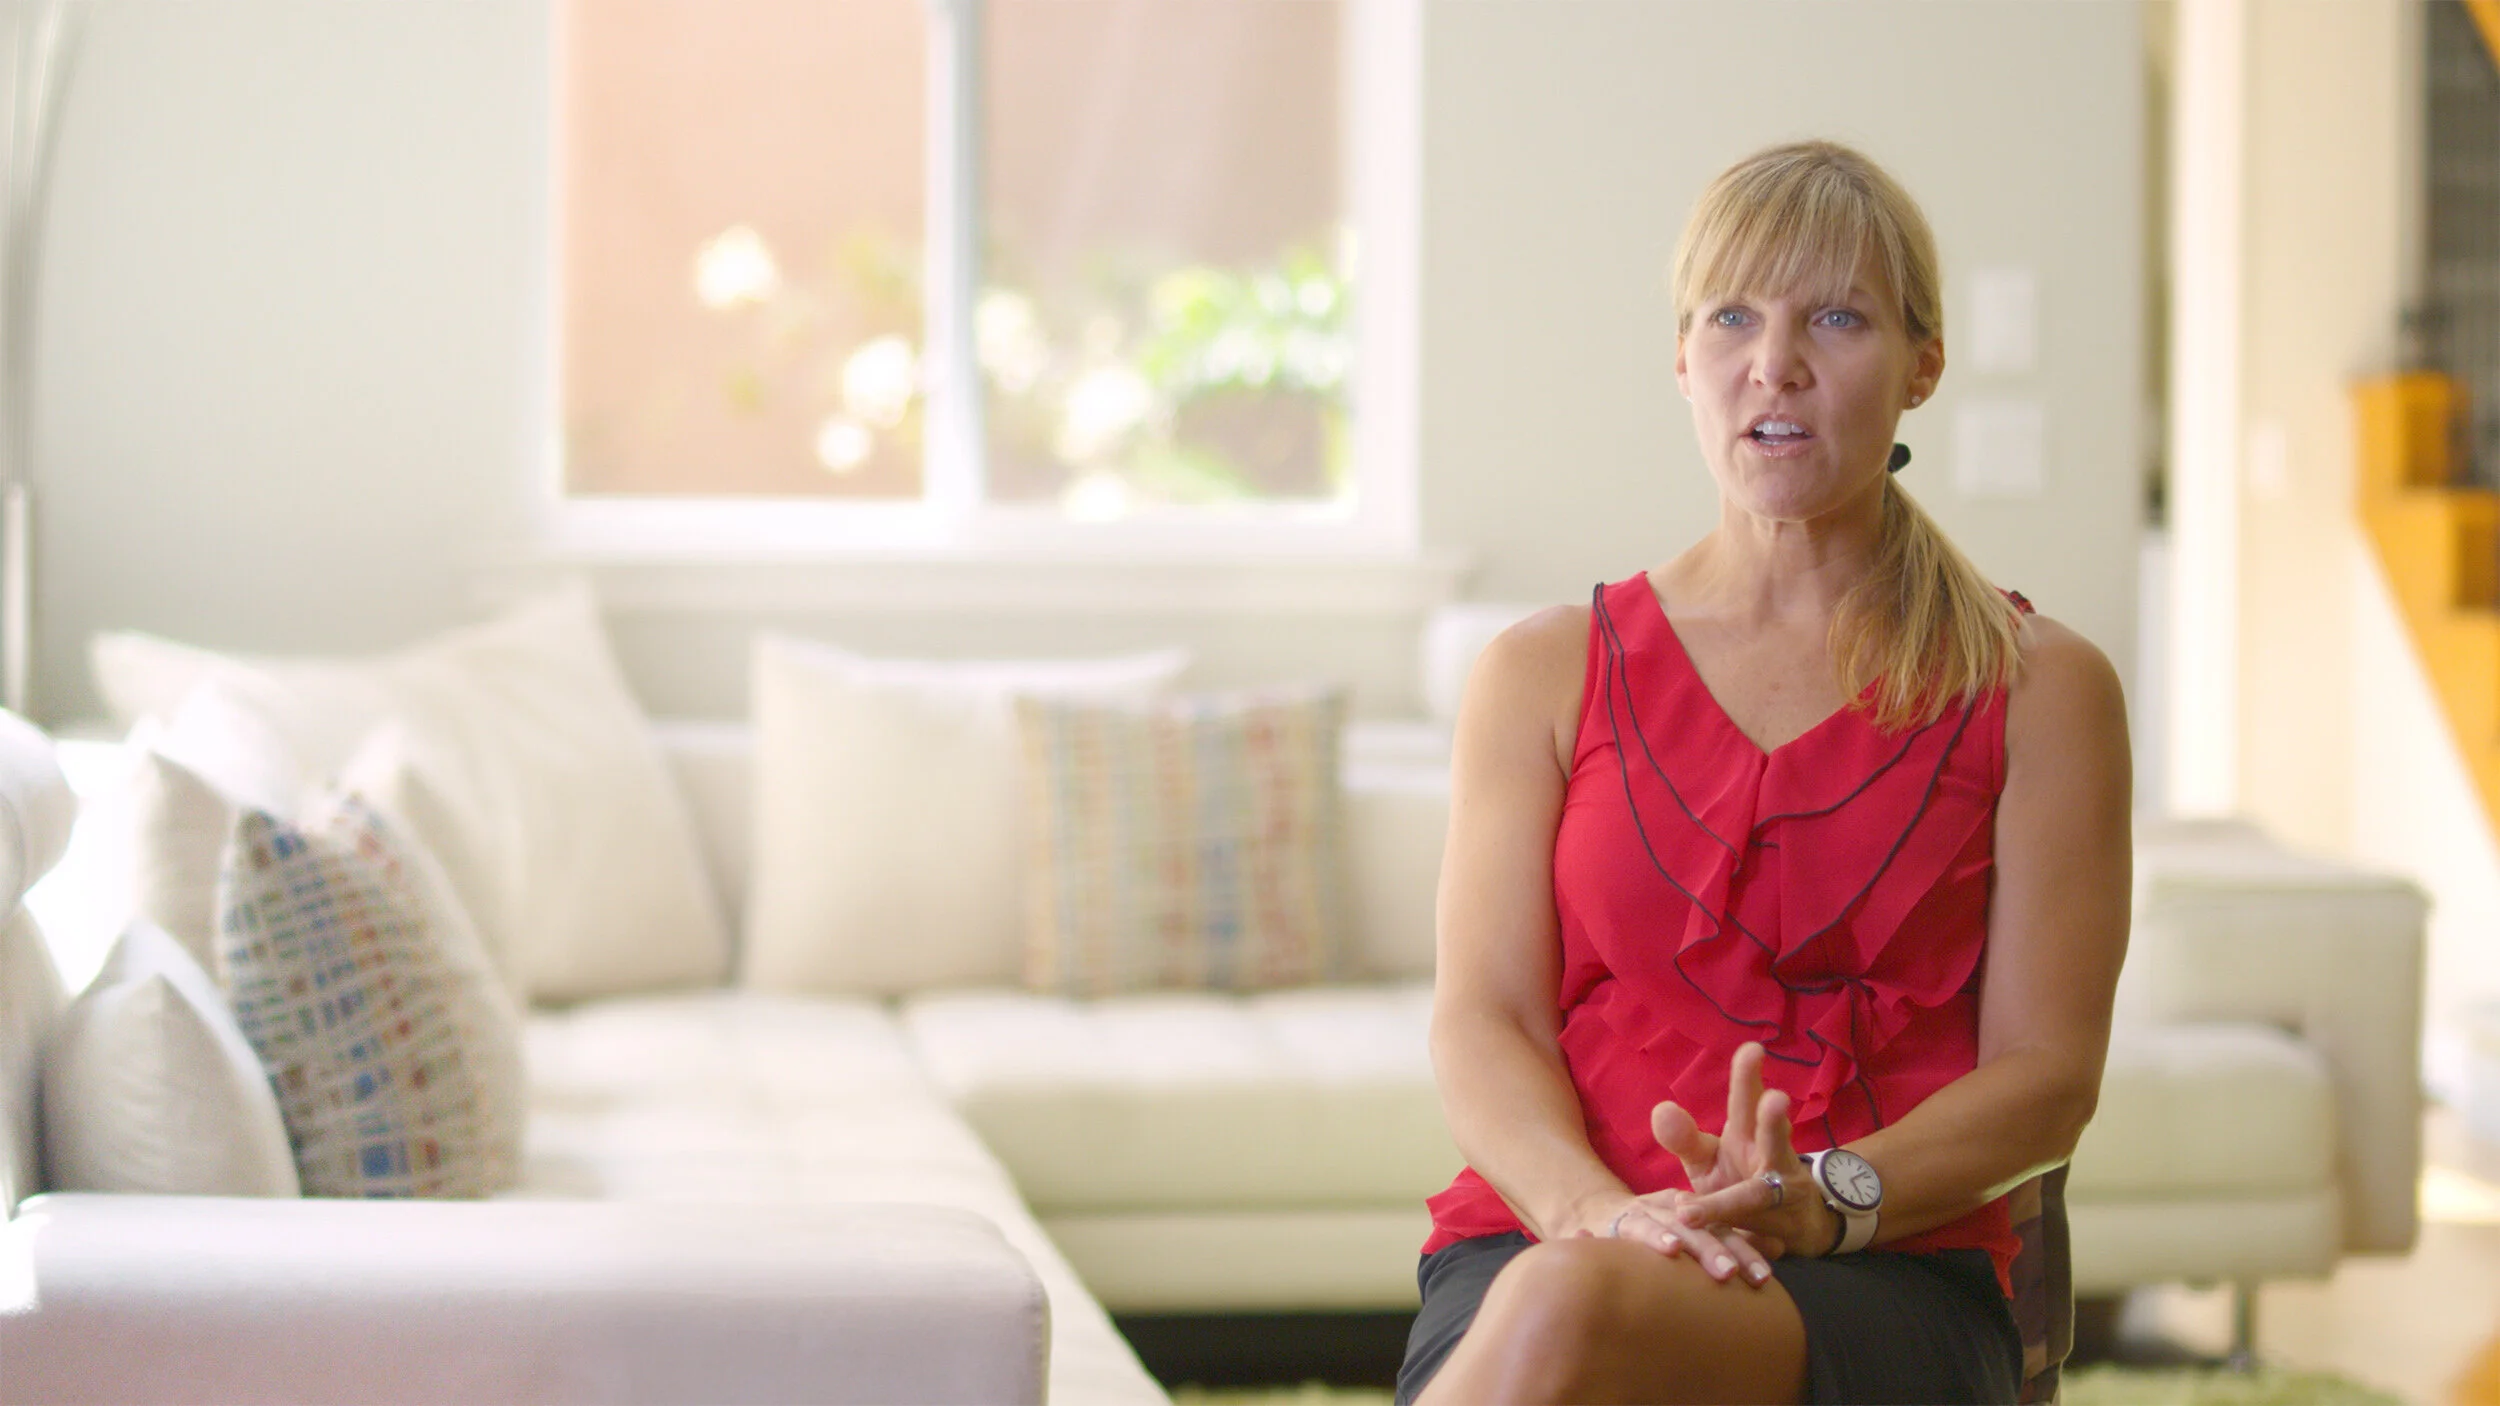
For this particular project I was filming with one camera - the Canon C500 - and was recording in 4K with the intention of punching in for close ups, so I needed to find a good wide angle that would also work as a nice close up. Also, I knew that I likely wasn't going to have a ton of b-roll for this project, because so much of the story happened in the past, so I wanted to make sure that the wide angle looked great because I'd probably be using it in the edit more than I normally would.
I ended up landing on this framing which I was really happy with, so I locked the tripod down on this position.
However, as you can see I ran into a problem with the background:

Once I bumped up the exposure in-camera to get the talent looking good, I got some pretty nuclear hot spots in my frame. To make things worse, this was just the raw image. By the time I'd add a color grade, I'd end up with something like this:

Yikes! Looks like a scorcher out there 🔥🔥😳
To give you a better idea of what I was working with (or against) you can see my lighting diagram of this scene:

This situation could easily have been fixed by adding more light onto the talent, stopping the camera down, and adding a few modifiers around the windows in the background. That way the talent looks lit nicely and then I wouldn't have those blown out highlights in the background. Something like this would have been 👌:

However, because I didn't have extra crew members & extra budget, I didn't bring a giant HMI light and all that extra grip gear. So how could I fix this with the limited gear that I had with me?
step #2 - enter the all powerful tripod
I figured out this trick about 6 years ago when I faced a similar dilemma, so I kept it in mind as I was finding a frame I liked to serve as the master angle for the interview.
For this trick to work a couple of things need to happen:
You have to find your frame and commit to it for the whole interview.
You have to keep your tripod completely locked off - if you move your tripod even a little during the interview, it could completely ruin things, so DO NOT MOVE YOUR TRIPOD.
Also, if you're using a zoom lens - DO NOT CHANGE THE ZOOM once you start.
The on-camera talent cannot cross the plane of the areas within your frame that you are going to re-light with your tripod. (if they do you're going to be playing b-roll roulette in your edit).

5. After you're done filming your interview, stop your clip, have your on-camera talent get up from their chair and walk out of the frame.
6. Did I mention DO NOT MOVE YOUR TRIPOD ?
7. If your camera has built-in ND filters or if you have a good quality screw-on one (that's not going to shift the colors of the image), now's the time to put one on. I'd recommend 1-2 stops max depending on how bright your hot spots are and how well your camera holds up to manipulating its exposure in post.
8. Roll your camera for about 30 seconds. This will serve as your background plate in editing & for the sake of this article I will refer to this clip as the "ND Filter Clip".

*If you don't have ND filters you can try stopping down your ISO or aperture and it will probably work. If you change your ISO the grain in your image might look a little different & if you change your aperture your background will be a little more in focus, but both should be subtle enough for this trick to still work.
step #3 - combining your videos in post
I'm going to do a much simpler explanation of how to do this here, so I highly recommend watching the video at the top of this post to get more in-depth, step-by-step instructions. Also, my screen grabs will be from Adobe Premiere, but you should be able to accomplish this trick in any professional editing software.
First edit your video and have it completely finished. There's no sense in applying this trick to the entire interview if you're only going to see your interview shot a couple of times in your finished video. Remember - work smarter, not harder.
Once you have your video edited, you're going to lay the ND Filter Clip on a new layer on top of your interview clips that aren't being covered up by b-roll. Because there are two separate areas that I want to re-light, the window and the couch, I am going to duplicate the ND Filter Clip & put two of them on top of my interview clip.

Next, you're going to create two masks, one on each of the ND Filter Clips. One around the window in the background and one around the hotspot on the couch.
Once you've create the masks, you'll want to invert them so each layer is only showing the masked area & so the bottom interview layer is showing underneath (There are many ways to do this in different editing softwares, for this demonstration I added a Crop filter to each clip, but this could also be done via the Opacity filter as well.)

Then you're going to want to feather each mask to help blend the clips to make this trick seamless. Tweak the feathering (and the shape of the masks) as needed.
Once you've got the hot spots covered up, you'll notice the big exposure differences in your clips are a dead give away that something weird is happening. So at this stage you'll want to apply a slight color correction to the ND filter clips to try to get their exposures matching the rest of the scene.

From here you can color grade the entire image by either nesting all of the clips into its own sequence and applying the color grade onto the nested clip there, or you could color correct the interview image and then copy and paste that color grade onto the other ND filter clips.
So to recap, here's the original, unedited image:

Here's the original image color graded, but without fixing the window or couch:
And here's the final color graded image where we re-lit the scene using our tripod:
Overall I was really pleased with how this worked out. Sure my editing timeline looked more cluttered than I'd like & it would have been nicer if I could have just lit the scene properly when I was filming this interview, but given the circumstances this was a great trade-off. After all, the audience is only going to see the final product, not how we got there.
JOIN CHURCH FILMMAKERS FROM ALL OVER THE WORLD
Enter your first name and email below and you'll get exclusive tips, tricks, and trainings delivered straight to your inbox. As a bonus for signing up I'll send you our favorite filmmaking trick that I use on every testimonial film I create.